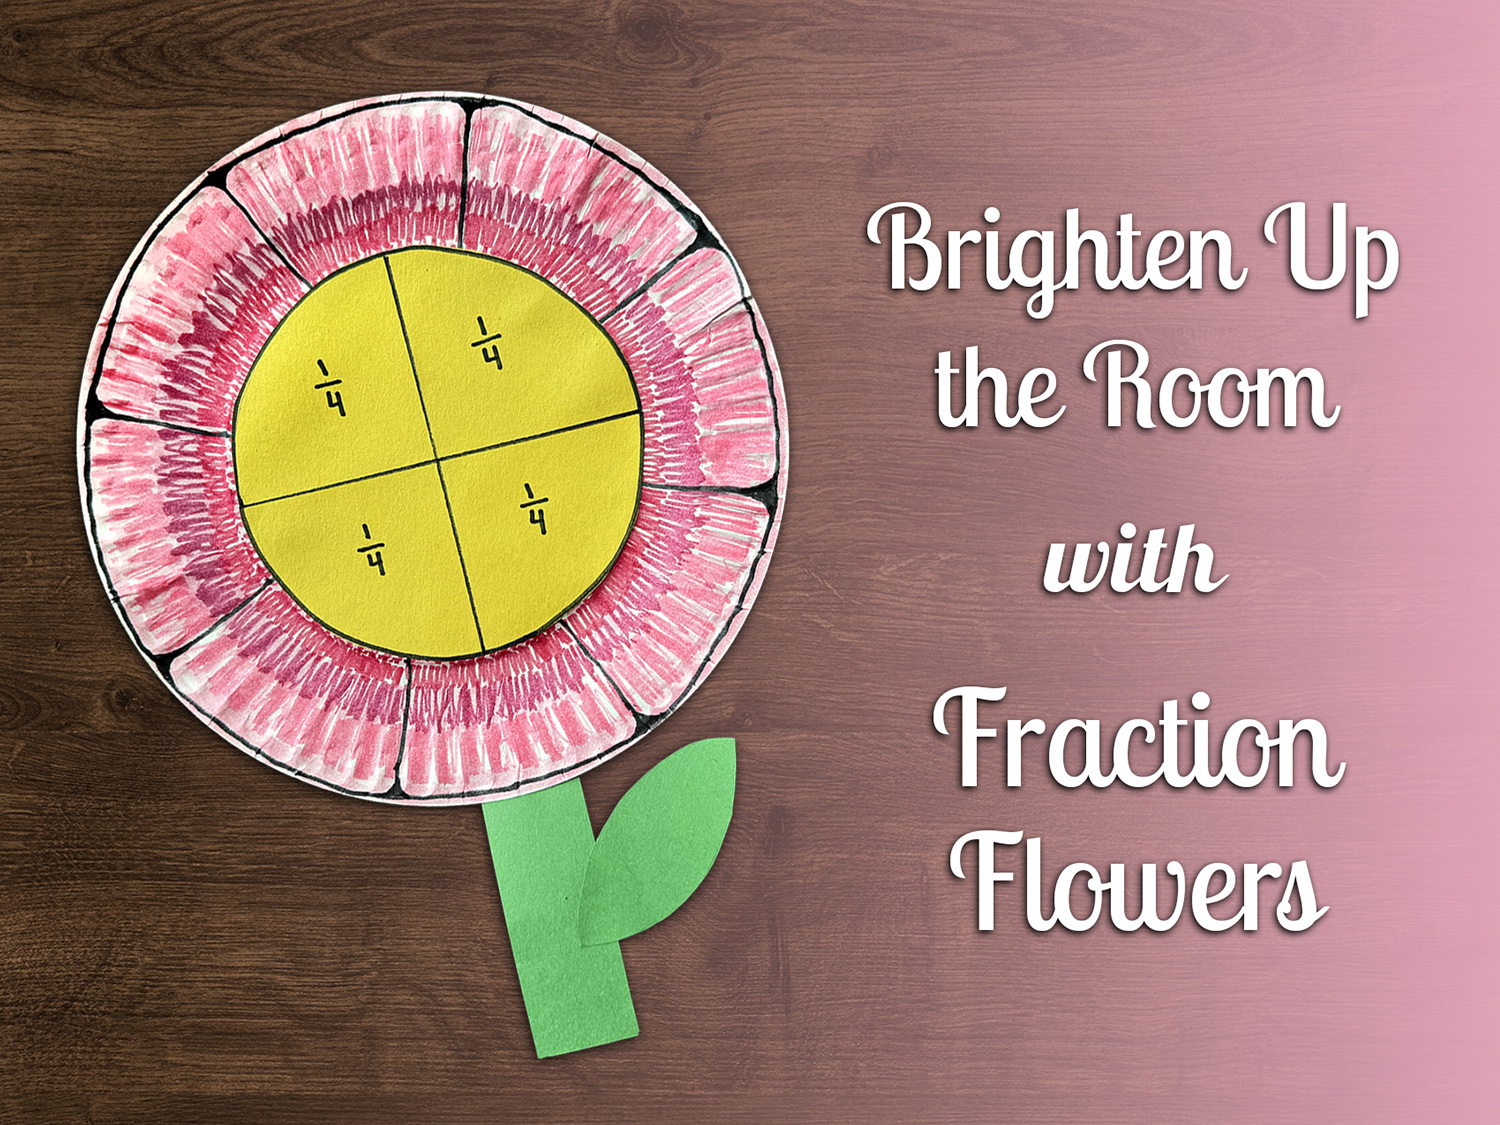
There’s nothing like floral art to brighten up a room at this time of year. Why not benefit from beauty and math practice at the same time? Here’s a craft that’ll have your young learners’ understanding of fractions growing just like their creations: fraction flowers!
Materials:
paper plates
green and yellow construction paper
black and colored markers, pencils, crayons, or paint
ruler or straight edge and a pencil for tracing
scissors
glue or tape
protractor or this worksheet (optional)
Step 1: Sketch Your Shapes
Use green construction paper to sketch a stem and leaf. For the youngest craftspeople, providing a long rectangle and leaf shape for tracing is best. Make sure they’re sized to match whichever size paper plate is being used.
Grab a plate and turn it rightside up. Line up some yellow construction paper on top and press down as you trace a circle the size of the inner portion of the plate. Don’t cover up the textured rim!
Step 2: Add Color
Let’s get these flowers looking beautiful! Using markers, crayons, colored pencils, or paint, color the paper plate. (If you use paint, let it dry before proceeding.) Pay extra attention to the rim, since it’ll become the flower petals.
Step 3: Divide Your Fractions
Grab those traced yellow construction paper circles and decide which fraction to use for each flower. If you’re working with a group of students making one flower each, consider assigning fractions to ensure a wide array: halves, thirds, fourths, fifths—the sky’s the limit!
If you’re worried about eyeballing perfect fractions, you can use a protractor for exact measurements or use this Super Teacher Worksheets fraction circles sheet as a guide.
Use a ruler or straight edge for neat lines, and label each part of your fraction with a bold, black marker or crayon.
Step 4: Cut and Assemble
Cut everything out: stems, leaves (if traced separately from the stems), circles, and fractions.
Attach the stem to the paper plate using tape or glue, but DON’T attach the yellow fractions yet.
Step 5: Play and Display
It’s time to discuss fractions! Pair up crafters to compare their creations and make connections. For example, draw attention to the way two ¼ pieces fit alongside one ½ piece, or the difference in sizes between a larger ⅕ piece and a smaller ⅙ piece.
Once fraction exploration is done, tape or glue the fraction centers of the flowers in place. Then pick a spot on your wall or door to display these beautiful mathematical creations.
And there you have it: a garden of fraction flowers to brighten up the room and make fractions a visible part of each day. This craft is a great way to get some hands-on experience manipulating fractions. It can even be adapted for more experienced mathematicians. Challenge them to label their flower centers using equivalent fractions or even equivalent decimals! Then challenge them to further their fraction knowledge using the resources provided here.